In today's world, where single-use plastic and disposable items are the norm, it's important to take steps towards a more sustainable lifestyle. One way to do this is by making your own plates. Not only is it better for the environment, but it can also be a fun and creative activity. In this article, we'll discuss why disposable plates are bad for the environment, the benefits of making your own plates, what you'll need, and step-by-step instructions on how to make your own plates.
Why Disposable Plates are Bad for the Environment
Disposable plates, also known as paper or plastic plates, are a convenient option for parties, picnics, and other events. However, they have a significant impact on the environment. Here are some reasons why disposable plates are bad for the environment:
- They contribute to deforestation: Disposable plates are made from paper, which comes from trees. The demand for disposable plates leads to the cutting down of trees, contributing to deforestation.
- They are not biodegradable: Most disposable plates are not biodegradable, meaning they do not break down naturally. Instead, they end up in landfills, where they can take hundreds of years to decompose.
- They release harmful chemicals: Disposable plates are often coated with a layer of plastic or wax to make them waterproof. When these plates are incinerated, they release harmful chemicals into the air, contributing to air pollution.
- They are not recyclable: Despite being made from paper or plastic, disposable plates are not always recyclable. This is because they are often contaminated with food waste, making them difficult to recycle.
Why Making Your Own Plates is Better for the Environment
Making your own plates may seem like a daunting task, but it has many benefits for the environment. Here are some reasons why making your own plates is better for the environment:
- Reduces waste: By making your own plates, you eliminate the need for disposable plates, reducing the amount of waste that ends up in landfills.
- Saves resources: Making your own plates means you are not contributing to the demand for disposable plates, which in turn reduces the need for resources like trees and water.
- Eco-friendly materials: When making your own plates, you have the option to use eco-friendly materials such as bamboo, palm leaves, or even recycled paper.
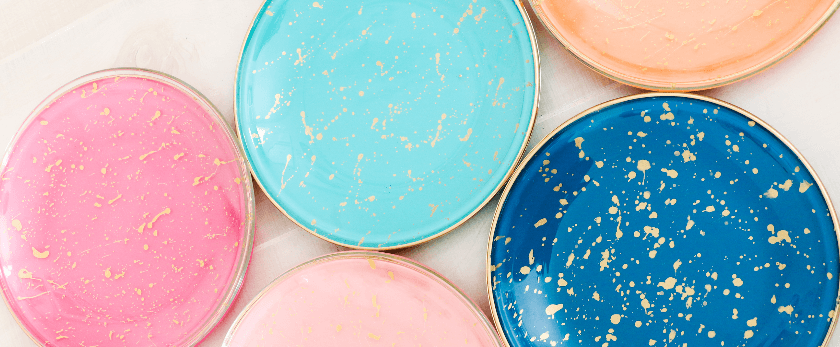
- Customizable: Making your own plates allows you to get creative and customize them to your liking. You can add your own personal touch and make them unique for different occasions.
What You'll Need
Before you start making your own plates, here are some essential items you'll need:
- Eco-friendly materials: As mentioned earlier, you can use a variety of eco-friendly materials to make your plates. Some options include bamboo, palm leaves, recycled paper, or even old t-shirts.
- Molds: You'll need a mold to shape your plates. You can use a plate or bowl as a mold, or you can purchase a plate mold from a craft store.
- Mixing bowl and spoon: You'll need a mixing bowl and spoon to mix your materials and create a paste-like consistency.
- Parchment paper: Parchment paper will prevent your plates from sticking to the mold.
- Scissors: You'll need scissors to cut your eco-friendly material into the desired shape and size.
- Optional: Food coloring or natural dyes: If you want to add some color to your plates, you can use food coloring or natural dyes like beetroot or turmeric.
Step-by-Step Instructions
Now that you have all the necessary items, here are the step-by-step instructions on how to make your own plates:
- Prepare your eco-friendly material: If you're using bamboo or palm leaves, make sure they are clean and dry. If you're using recycled paper, shred it into small pieces. If you're using old t-shirts, cut them into squares.
- Soak your material: Soak your eco-friendly material in water for a few hours or overnight. This will make it easier to blend and mold.
- Blend your material: Once your material is soaked, blend it in a food processor or blender until it becomes a paste-like consistency.
- Add food coloring or natural dyes: If you want to add some color to your plates, now is the time to add food coloring or natural dyes to your paste.
- Prepare your mold: Line your mold with parchment paper to prevent the plates from sticking.
- Spread the paste onto the mold: Using a spoon, spread the paste onto the mold, making sure it is evenly distributed and about 1/4 inch thick.
- Let it dry: Let the paste dry for 24-48 hours, depending on the thickness of your plates.
- Remove from the mold: Once the plates are completely dry, carefully remove them from the mold.
- Trim the edges: Use scissors to trim any uneven edges and give your plates a clean look.
- Use and dispose of responsibly: Your homemade plates are now ready to use! After use, make sure to dispose of them responsibly. If they are made from biodegradable materials, you can compost them. If not, make sure to recycle them.
Congratulations, you have successfully made your own plates! Not only did you reduce waste and save resources, but you also have a unique and eco-friendly alternative to disposable plates.
Conclusion
Making your own plates is a small but impactful step towards a greener lifestyle. By eliminating the use of disposable plates, you are reducing waste and contributing to a more sustainable future. So next time you have a party or event, consider making your own plates and inspire others to do the same. Let's all do our part in protecting the environment and creating a better world for future generations.
